The short version: wipe the grates and empty the grease bucket after every cook. Vacuum the burn pot and scrape the flame broiler every 3 to 5 cooks. Do a full teardown once or twice a year. Adjust based on what you actually cook, because a run of brisket and pork butt makes a very different mess than a few batches of wings.
Cleaning a pellet grill is not complicated, but it is the thing most people put off until something goes wrong. And when something does go wrong on a pellet grill, grease is usually why.
Here is the whole routine, broken down by how often you need to do each part, plus the handful of mistakes that cost people a flame broiler or a control board.
The Maintenance Schedule
If you only take one thing from this post, take this table.
| How Often | What To Do | Time |
|---|---|---|
| Every cook | Brush the grates, glance at the grease bucket | 5 min |
| Every 3 to 5 cooks | Vacuum the burn pot, scrape the flame broiler and barrel floor | 20 min |
| Every 20 to 30 cooks | Vacuum the whole barrel, clear the chimney, wipe the RTD probe | 45 min |
| Twice a year | Full teardown, empty and vacuum the hopper, degrease everything | 2 hours |
| After any fatty cook | Do not wait for the schedule. Deal with the grease now. | 10 min |
That last row is the one that matters most, and it is the reason a strict calendar schedule does not really work. Twelve hours of brisket dripping fat leaves behind something completely different than a quick weeknight cook. Let the cook set the schedule, not the calendar.
Full Disclosure: I Am Not Always On Time With This
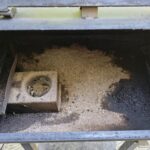
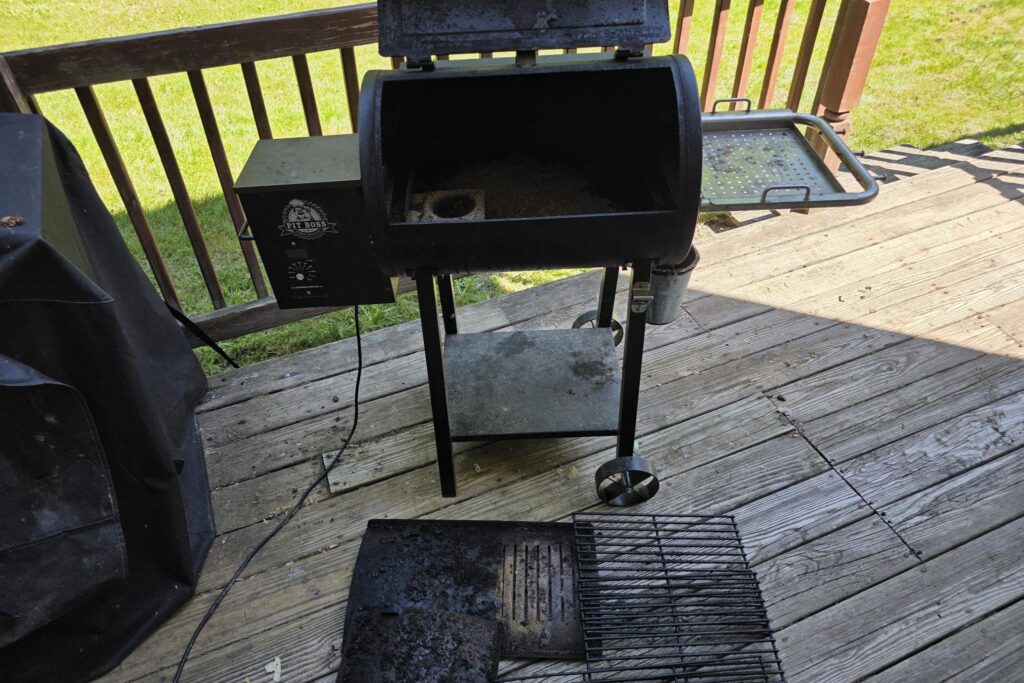
I try to keep to this schedule. Sometimes, like this time, I am late. Pulling the grill apart to shoot the photos for this post made that obvious. It had gone longer than it should have, it was noticeably messier than usual, and the job took a good deal longer because of it.
Which is really an argument for the table rather than against it. The after every cook stuff is easy to stay on top of because you are standing right there anyway. It is the bigger jobs that quietly slide, and you find out about it the next time you open the barrel. Grease that has been sitting gets harder to shift, never easier, so running late just moves the work to the other end.
If you would rather not have this page open on your phone every time you clean, I made a printable version. Same table, plus the mistakes list and a tick box list of what you need, sized to pin up in the garage.
Know Your Parts, Because Everyone Calls Them Something Different
Before the routine, it is worth naming what you are actually looking at. Pellet grill terminology is genuinely a mess. Pit Boss uses more than one name across its own documentation, and replacement part sellers throw around deflector, diffuser, baffle, and shield for the same piece of metal.
Top down, here is what is in your barrel:
| Part | Also called | What it does |
|---|---|---|
| Cooking grates | grill racks | Hold the food |
| Flame broiler | heat shield, slide plate | Sloped plate under the grates. Catches grease and slides open to expose direct flame for searing. |
| Heat deflector | heat baffle, diffuser, flame tamer | Sits over the fire pot and spreads the heat out. Not every model has a separate one. |
| Grease tray | drip tray | A removable tray under the flame broiler on larger models. Mine does not have one, the barrel floor does the job. |
| Grease bucket | grease pail | Hangs off the side. Catches everything that drains out of the barrel. |
| Fire pot | burn pot | Where the pellets actually burn |
The simple test: if you can slide a plate open to expose the fire for direct grilling, that plate is the flame broiler. How you open it varies by model. Some have a lever on the outside of the barrel. On mine there is no lever at all, you reach in under the grates and push a metal tab across. Either way, that is the part I mean every time I use the term below.
For what it is worth, I called mine the heat shield for years before I ever looked up what Pit Boss calls it. Both will get you understood at the hardware store, but if you are ordering a replacement part, search for the flame broiler or you will end up with the wrong plate.
What You Need
- A shop vac. The single most useful tool for this job. A small one is fine.
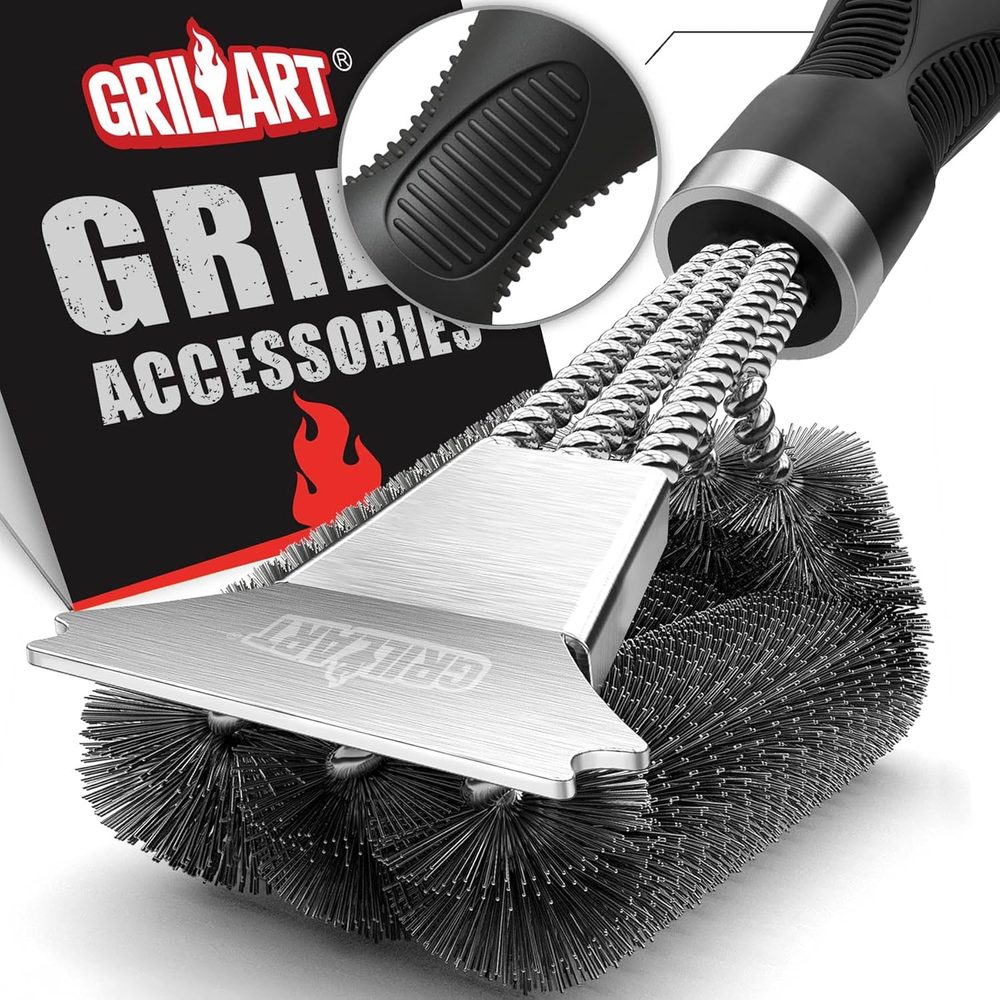
- A good brush and scraper. I use a combo tool with stiff bristles and a scraper blade on the same head, which handles most of it. Spend a few dollars on a decent one, it makes a real difference.
- A putty knife as well, for flat grease on the barrel floor. A grill brush will not shift that.
- Warm water and dish soap for the parts that can actually get wet.
- Disposable foil liners for the grease bucket. More on these below.
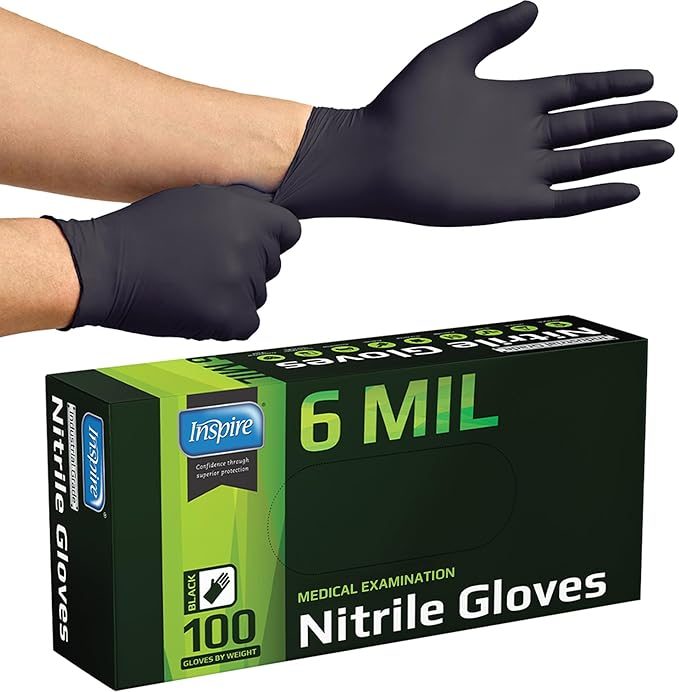
- Disposable nitrile gloves. Look at the mil rating rather than the label. Around 6 mil, not the standard thin ones. And not the fabric liners that go inside heat resistant gloves, grease goes straight through those.
- A roll of paper towels. More than you think.
You do not need specialty grill cleaner. Most of this is scraping and vacuuming, which is exactly why the brush and the scraper are worth having decent versions of. Cheap tools turn a twenty minute job into an hour of fighting it.
Two things I got wrong doing this. I did not bother with gloves, and I spent the rest of the day getting grease out from under my fingernails. And I went through a genuinely stupid number of paper towels, which was still better than ruining a stack of rags.
Next time I am wearing the heavier disposable nitrile gloves. Six mil rather than the usual thin ones, on the reasoning that a standard exam glove is not going to survive five minutes against a burn pot. I have not put them through a full clean yet, so take that as a plan rather than a verdict.
After Every Cook (5 Minutes)
Brush the Grates
A grill brush between cooks is what I actually do, and for most cooks it is enough. Hit the grates while there is still some warmth in them and whatever is stuck comes off without much argument.
You will see a lot of advice telling you to run a high heat burn off after every single cook. It does work. Crank it to high for ten minutes with nothing on the grates and everything stuck to them turns to ash. But I do not do it every time and I am not going to pretend otherwise. A brush handles the day to day.
Where the burn off earns its keep is after something sugary or sticky, or when you have let a few cooks pile up and brushing alone is not cutting it. Save it for then rather than treating it as a rule.
Check the Grease Bucket
Look at it every single time. It takes two seconds. A bucket that overflows backs grease up into the channel, and that is the start of most pellet grill problems.
The Grease Bucket: Line It and Skip the Worst Job
My Pit Boss came with a steel bucket that hangs off the side to catch grease. Out of the box you are meant to periodically clean that bucket out, which is exactly as pleasant as it sounds.
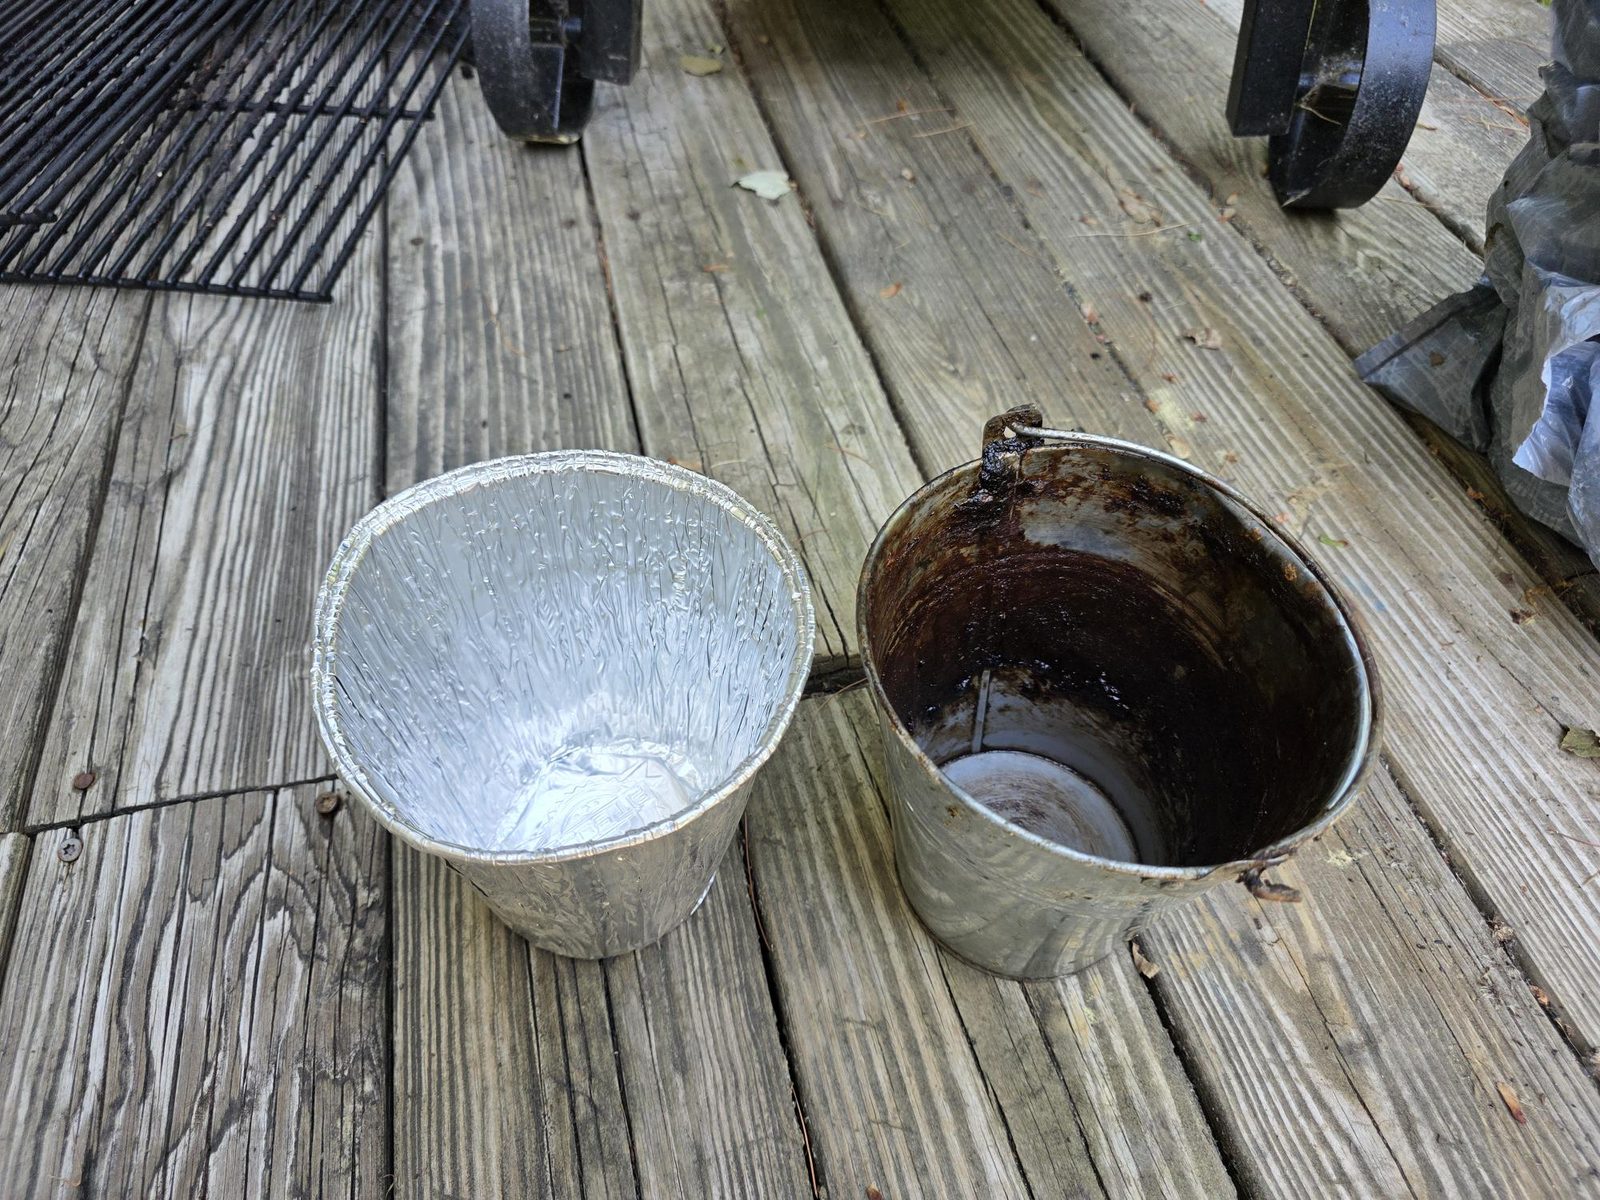
I do not. I sit a disposable foil liner down inside it. When it fills up I lift the liner out, throw it away, and drop a fresh one in. The bucket underneath stays clean and the worst job on the grill turns into taking out the trash.
You do not need to do this often. I am changing mine maybe once a season, though that depends entirely on how much you cook. Check it as you go and swap it when it is getting full rather than working to a schedule.
Foil bucket liners cost a couple of dollars for a pack. Check they actually fit your bucket before buying, since sizes differ between models.
One Warning About Liners
Do not leave one in indefinitely. The bottom of mine had rotted through, so grease had been draining straight past it into the pail underneath. That is why the bucket in these photos looks the way it does, and it meant I had to scrub the thing out after all, which rather defeats the point of using a liner.
Swap it before it fails and there is genuinely no cleaning involved at any point. You lift the old one out, drop a new one in, and walk away. So check it as you go rather than trusting the calendar, which is advice I clearly should have taken myself.
Where the Grease Actually Goes
Worth understanding, because it differs by model. On mine there is no separate grease tray at all. Grease runs off the flame broiler onto the floor of the barrel, the floor slopes to a drain hole, the hole feeds a chute, and the chute empties into the bucket on the side.
Larger Pit Boss models add a removable grease tray between the flame broiler and the barrel floor. If yours has one, scrape it while the grill is warm. Warm grease scrapes off easily, hot grease will burn you, and cold grease sets into a hard varnish that takes real effort to shift.
Every 3 to 5 Cooks (20 Minutes)
Grill off, unplugged, and cool.
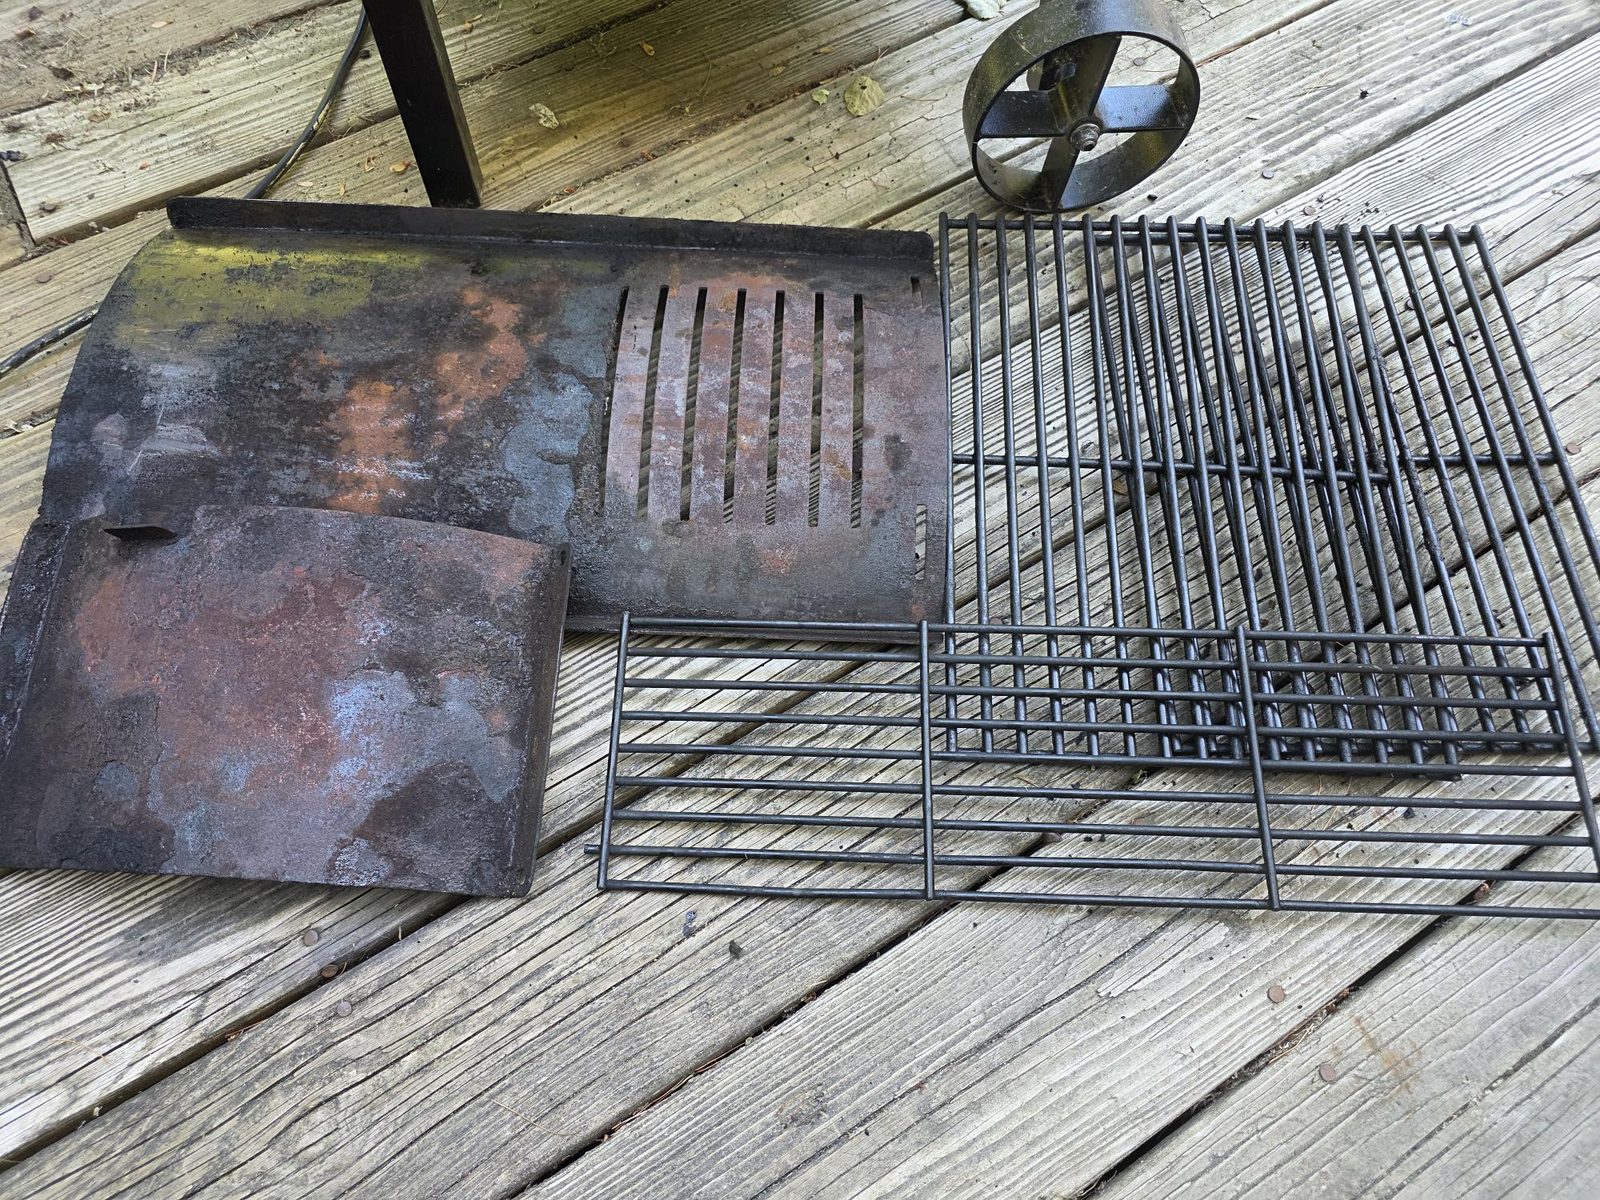
1. Pull the Grates and Flame Broiler
Take out the cooking grates, then lift out the flame broiler slide plate underneath.
2. Scrape the Flame Broiler, Do Not Wash It
This is the mistake that ruins parts. The flame broiler is not waterproof and is not meant to get wet. Scrape it, brush it, hit stubborn spots with steel wool if you need to, but keep it dry. Soaking it in the sink will rust it out.
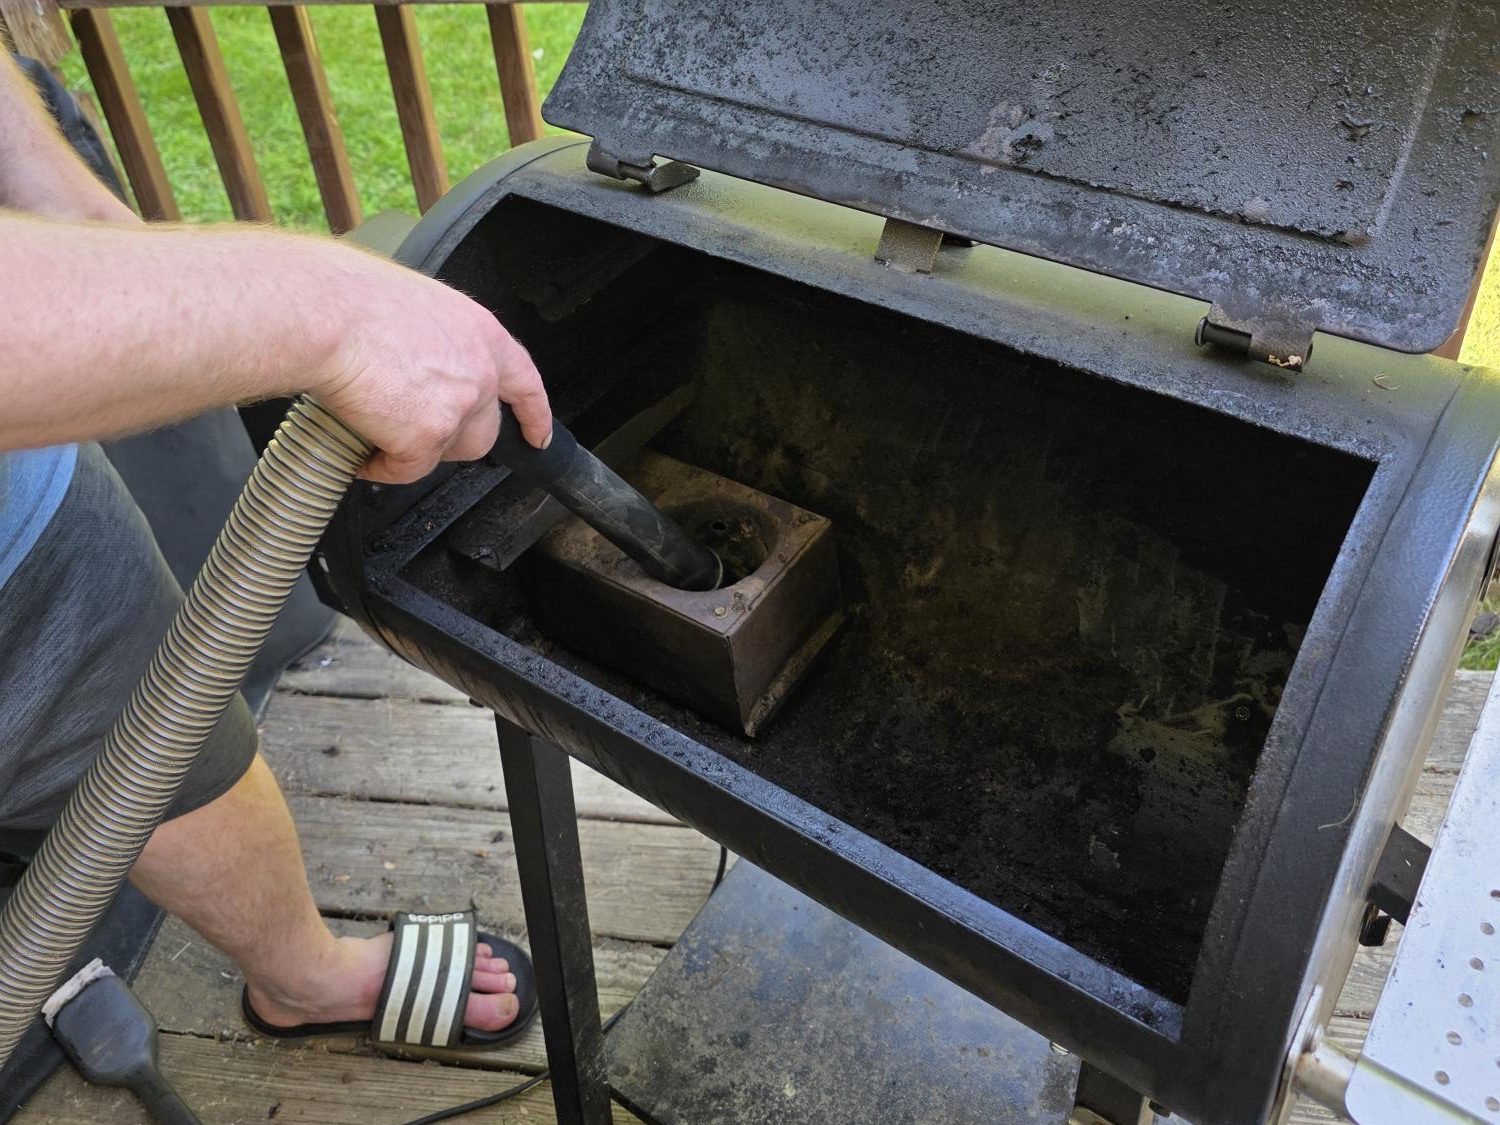
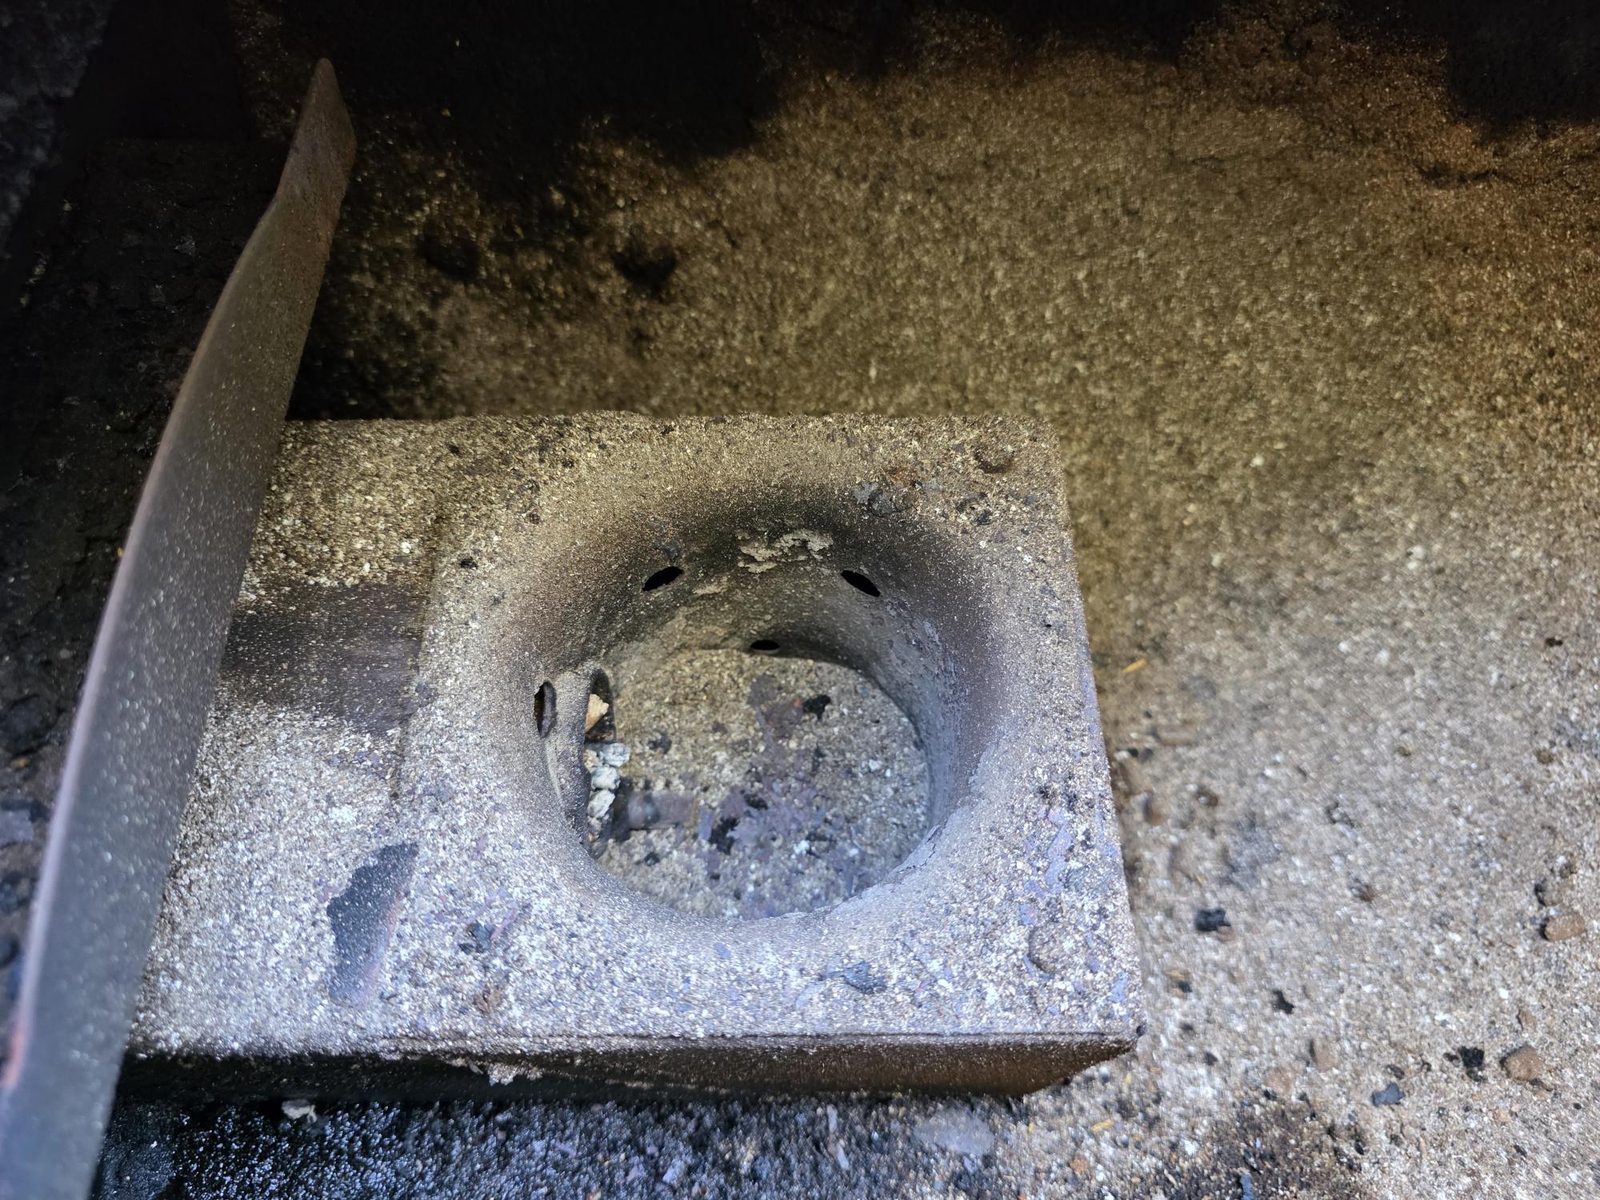
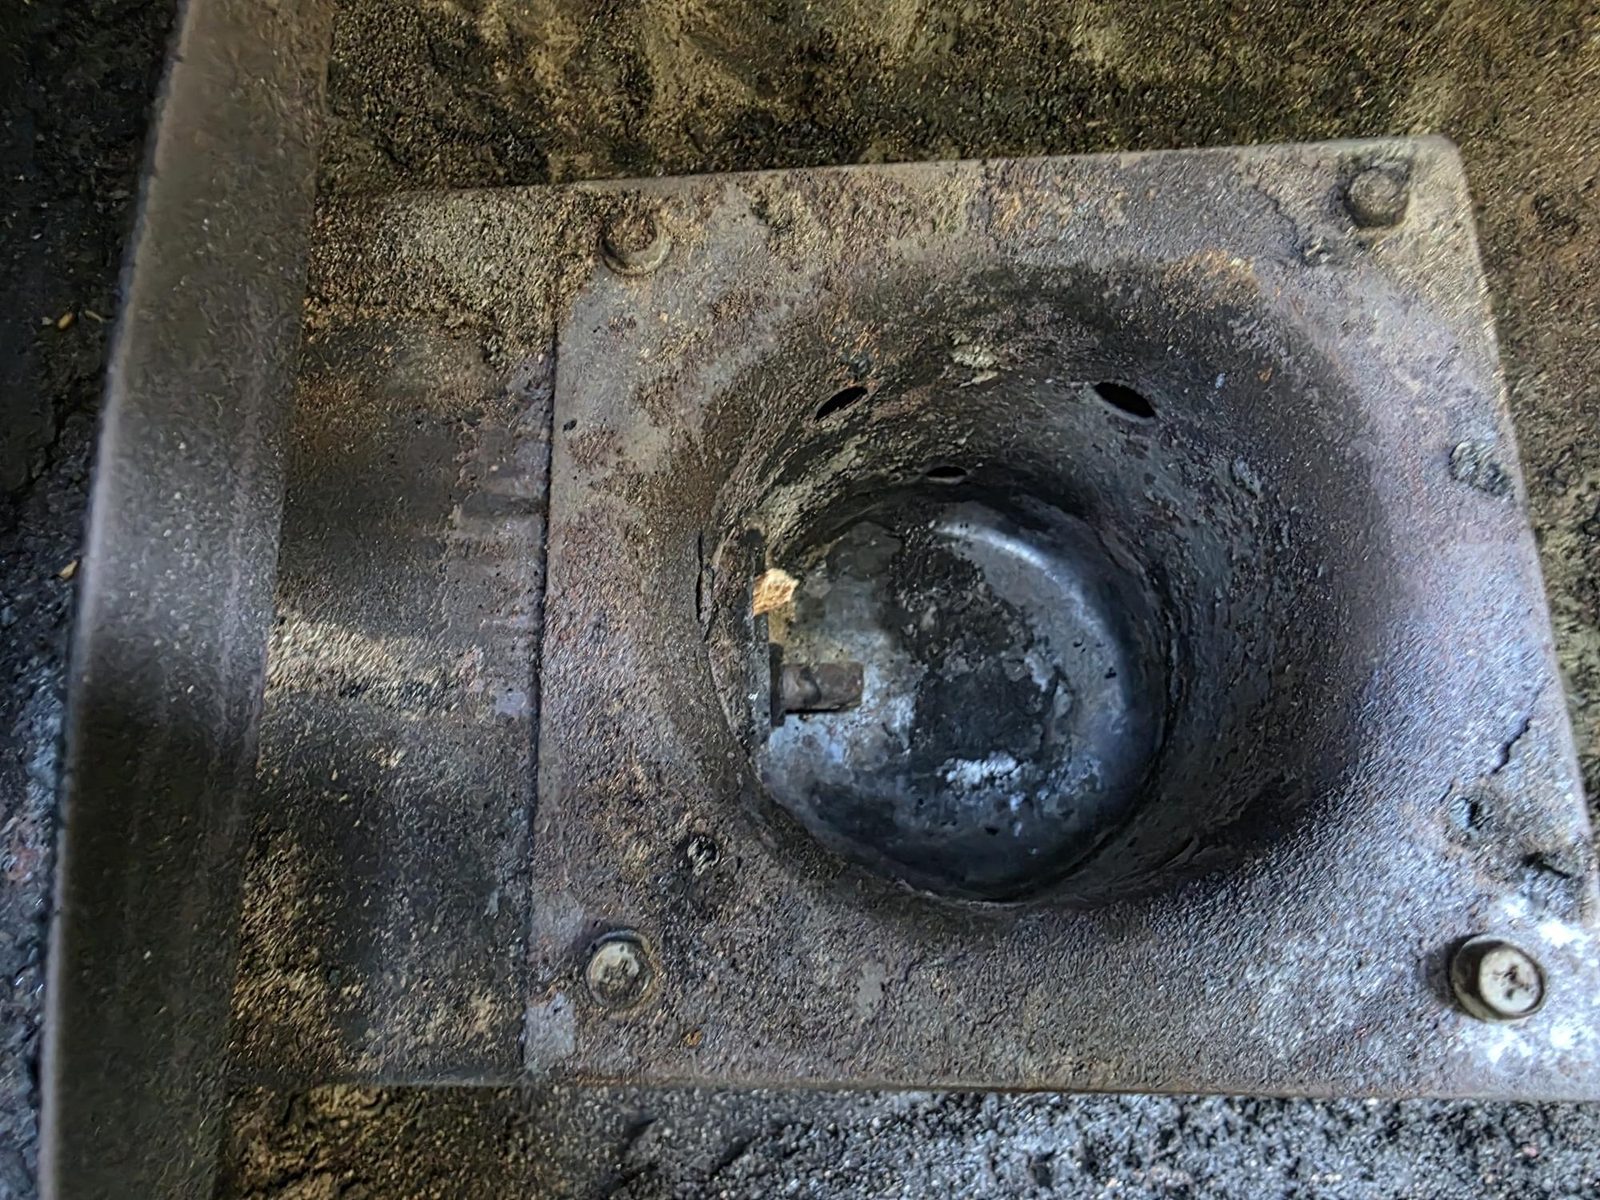
3. Vacuum the Burn Pot
Brush the loose ash first, then vacuum it out. You want the pot empty, with the holes clear. Ash buildup here changes how the fire behaves and makes startups unreliable.
How often this actually needs doing varies more than you would think. Some people say every hopper load, others say every 5 to 10 cooks. What matters is what it looks like when you check. If the pot is holding a bed of ash, it was due.
4. Scrape the Barrel Floor and Check the Drain
On my grill the floor of the barrel is the grease surface, so this is where the putty knife earns its keep. Scrape the buildup toward the drain hole, then make sure the hole itself is clear. A blocked drain backs grease up inside the barrel, which is the last thing you want sitting above a lit fire pot.
Then look in the bucket. If the liner is getting full, swap it. It will not need doing anywhere near this often.
Every 20 to 30 Cooks (45 Minutes)
Everything above, plus:
Vacuum the Entire Barrel
Ash migrates. Get the shop vac into the bottom of the barrel and clear out everything that has drifted off the burn pot over the last month.
Clear the Chimney
Grease and ash build up inside the smokestack and restrict airflow. A restricted chimney means heat cannot escape properly, which makes temperature control worse and, in bad cases, contributes to overheating.
Wipe the RTD Temperature Probe
The RTD probe sticks out from the left hand wall of the barrel, a short metal pin standing up out of a small bracket. It is what your controller uses to hold temperature. Carbon buildup on it makes it read badly, and a probe reading badly means your grill is not holding the temperature you think it is.
Wipe it gently. It is a sensor, not a grate. No wire brushes.
While you are thinking about temperature accuracy, this is a good moment to verify what your grill is actually doing against an independent probe. I go into which ones are worth owning in my thermometer rundown, but the short version is that the factory lid thermometer typically reads 20 to 30°F higher than grate level.
Twice a Year: The Full Teardown
Start of season and end of season is a sensible rhythm. Everything above, plus the hopper.
Empty and Vacuum the Hopper
Get all the pellets out. Most Pit Boss models have a cleanout door at the base of the hopper to make this less painful.
What you are really after is the sawdust. Pellets shed fine dust as they sit and shift, and that dust collects in the bottom of the hopper and around the auger. It absorbs moisture, it clumps, and it is a common contributor to auger jams and failed startups.
Clean the Fan Air Intake Vent
There is an air intake vent at the bottom of the hopper feeding the combustion fan. Almost nobody cleans it. Clogged with dust, your fire does not get the air it needs and everything downstream gets worse.
Degrease Everything and Finish With a Burn Off
Wash what can be washed, keeping the flame broiler dry. Reassemble, then run the grill empty at high heat for 15 minutes or so to burn off residue and dry everything out.
Winter Storage
I do not have a garage, so mine lives outside through a Maine winter. A good cover is doing all the work here, and it is worth spending a little on one that actually fits rather than a generic tarp that funnels water into the hopper. Covers are model specific, so check the dimensions against your grill before you buy one. A cover that does not seal properly at the bottom is barely better than no cover at all.
I do not fully shut it down for the season either. It comes out at least once, because I smoke a prime rib every year around Christmas and that is not a tradition I am giving up over some snow.
If you are in a similar spot, do the full teardown before the cold sets in rather than after. Grease left to sit through a freeze and thaw is significantly less pleasant to deal with in March than it is in October.
I leave pellets in the hopper over the winter, because I am still using it. I have never had a moisture problem doing that. The thing that makes it work is the cover. Keep the grill genuinely protected from the elements and the pellets stay fine. Leave it exposed, or under something that lets water pool and run in, and you will get swollen pellets and a jammed auger.
Four Mistakes Worth Avoiding
- Washing the flame broiler. It is not waterproof. Scrape and brush only.
- Washing the grease bucket out by hand. A foil liner costs pennies and turns it into a job you never do again.
- Scrubbing the RTD probe with anything abrasive. You will damage the sensor you are trying to help.
- Ignoring the hopper because the grill still runs. Sawdust buildup is invisible right up until the auger jams mid cook.
Why This Actually Matters
Cleaning a grill is nobody’s favorite part of BBQ. Here is the honest case for staying on top of it.
Grease fires. This is the real one. Built up grease sitting above a fire pot eventually lights. That is a genuine fire in your backyard, and it is also the most common trigger for the ErH overheat error that shuts the grill down mid cook.
Temperature control. Ash in the burn pot, a restricted chimney, and a dirty RTD probe all make your grill worse at holding a set temperature. Most people blame the controller.
Startup reliability. A clean burn pot lights predictably. A pot full of ash does not.
Food that tastes better. Old rendered fat burning off underneath your cook does not add anything good.
Frequently Asked Questions
How often should I clean my Pit Boss?
Quick wipe down after every cook, burn pot and flame broiler every 3 to 5 cooks, full barrel clean every 20 to 30 cooks, complete teardown twice a year. Cook fatty cuts often and you move everything up.
Can I use water inside my pellet grill?
On the grates, yes. On the flame broiler, no, it is not waterproof. Keep water away from the burn pot, the barrel floor, the RTD probe, and anything electrical.
Do I need to empty the hopper between cooks?
Not between cooks. The real enemy is moisture, not time. I leave pellets in mine right through a Maine winter without trouble because it stays properly covered. If your grill sits exposed to rain and damp, that is when pellets swell, crumble, and jam the auger. Protect the grill and the pellets look after themselves.
What is the fastest way to clean the grates?
A brush while the grates still hold some warmth handles most cooks. When something sugary has baked on, run the grill at high heat for ten minutes first and then brush. Either way, do not scrub them stone cold.
Can I use a regular vacuum instead of a shop vac?
Only if everything is completely cold, and even then it is a bad idea. Fine ash destroys household vacuum filters, and any warm ember is a fire risk. A cheap shop vac is worth it.
🛠️ Tools I Recommend
None of this is difficult. It is just easy to put off, and the cost of putting it off is a grease fire or a smoker that will not hold temperature when you need it to. Twenty minutes every few cooks buys you a grill that behaves.
What does your routine look like? Drop a comment with how often you clean and whether you have found anything that makes it less of a chore. I am always looking for a shortcut that actually works.
🔥 So fire up the pit, and let’s grill and chill.